Mango Chutney


Chutney’s can be sweet, spicy, sour, thick or thin.  I imagine that the curries of India came as a bit of a palate shocker to the British and fruit chutney’s were used as a way to calm down the heat of curries.   

There are so many different chutneys out there, and originally they were used as a method of preserving various fruits and spices.   I’ve enjoyed mint chutney’s, tamarind chutneys, and others back when I was able to go and eat out at Indian restaurants.  

A side note here, Mango chutneys are probably more Caribbean in nature, rather than totally Indian. 

You can read more about Chutney’s here at Wikipedia

Now for the Major Grey Chutney, which is probably one of the most common chutneys. It was supposedly made at the behest of a British officer by the name of Major Grey.  I’m sure his cook is the true originator of the chutney.  It’s also been westernized by the addition of vinegar as a preservative.  You can read about it here.

I made this a Major Grey style, using most of the spices that you can find in commercial chutneys. However, I did add some cardamom, which is not usually used, and feel free to leave it out, but I liked the warmness of the spice and how it complemented the other flavors.   

I freeze my chutney, in small ‘me’ serving sizes, cause I’m the only one who eats chutneys in this house. 

Chutney’s go so well with so many different dishes.  I love mixing it with a little Thai Green Curry paste, and adding it to some cooking shrimp for Taco’s.  

It’s also great mixed with a little mayonnaise or yogurt and using it in a chicken Salad.

I prefer to freeze it in small containers or in a silicone cube tray, and then just taking out what I need for dinner or lunch or a snack. It does keep for a couple of weeks in the fridge, however, since I’m the only one who eats it here, I prefer freezing it in either a silicone ice cube tray or small ‘shooter’ glasses.

Here is the recipe.

Mango Chutney

  • 6 cups, sliced cubed firm mango – slightly underripe
  • 2 cups brown sugar – Can be either dark or light brown sugar.  Dark brown sugar has a slightly stronger taste
  • 1 cup apple cider vinegar
  • 1 onion, finely minced – about 1 cup
  • 1 cup raisins
  • 1/4 cup cinnamon sugar
  • 1 whole cinnamon stick
  • 1 1/2 Tablespoons fresh ginger – microplaned and firmly packed
  • 1 Tablespoon finely chopped candied ginger
  • 1/4 lime – thin skin – finely chopped, peel and all
  • 2 Thai chile peppers – crushed
  • 1 teaspoon mustard seed -heated in pan till popping
  • 1/4 tsp. ground cloves
  • 1/4 teaspoon ground cardamom or the contents of 6 cardamom pods, crushed

Instructions

  1. Peel and cut mango into small dice, leaving a few larger pieces.   Peel and finely dice 1 onion. 
  2. Add the mango, onion, vinegar and sugar to a large pot.  Then add the remaining ingredients and let simmer for at least 2 hours, until it reaches a jam consistency.   You can taste along the way and add more sugar if needed or more vinegar.  
  3. Place 1/3 cup mango chutney into each recess in a silicone cube freezing tray or into 2 oz.  plastic ‘shooter’ cups and freeze.  Allow to thaw overnight before using.

Pumpkin Pie Cake


 I have a simple philosophy when it comes to cooking or baking.  Basically, if I can’t have fun in the kitchen, I don’t want to play.

I do a lot of same old, tried and true, could make it in my sleep cooking.  As do many of us, but sometimes, well, I just gotta play.

 I decided to play pie with one of the butternut squashes I have in my fridge.   

 Years ago I used to make a pie that made its own crust and tried to find the recipe, but it’s disappeared somewhere.  Along with the 6 week bran muffin recipe I used to have.  

Maybe they’ll show up someday, giggling at all the fun they had.  

I can dream. 

 I googled and googled and found several references to impossible pies, and none of them were quite right.  

And then TA DA!!!! I found it,  or least a reasonable facsimile.    It was hiding in plain sight in one of my cookbooks.
 

Who woulda thunk it?  

Of course, I did take some liberties with the basic recipe.  

The cookbook is one I absolutely love, it’s full of amazing recipes.  I picked it up about 20 years ago in a second hand book store in LA.   This book is falling apart, but I’ve taped it up and treat it with reverence now.  

The cookbook is called Los Angeles Times California Cookbook. The recipe I based this on is found on page 403, if you’re lucky enough to own a copy. It was originally published in 1981.  You can of course find formerly loved copies on Ebay.  

And then I made it, and ummm, it wasn’t quite how I remembered it and I had to change the title of this post. 

Cause it was more like a cake, than a pie.

Delicious, I mean totally delicious, but not a pie.

I ate it anyway for lunch and breakfast… 

And saved some for later in the freezer.  

Then I felt virtuous for eating a vegetable. 

Hey, every little bit counts. 

And, I never know if I should admit to this or not, but honestly, when it comes to Pumpkin Pie, I can take it or leave it, usually.

I had a hard time not eating all of this at once.  It was just plain satisfying.  
Print

‘Pumpkin’ Pie Cake

Yield: 4 servingsAuthor: Sid’s Sea Palm Cooking -Prep time: 10 MinCook time: 40 MinTotal time: 50 MinThis cross between a pie and a cake is a perfect bridge for those who can’t commit to pie or cake. And is a sneaky way of using up butternut squash.

Ingredients:

  • 1 1/2 cups cooked butternut squash – or other firm fleshed orange squash
  • 2 eggs
  • 7 oz. Sweetened Condensed Milk
  • 1 tsp. pumpkin pie spice – I make my own
  • 1/3 cup Master Mix or buttermilk biscuit mix.

Pumpkin Pie Spice mixture

  • 4 teaspoon cinnamon
  • 1 teaspoon ground ginger
  • 1 teaspoon ground cloves.
  • Mix together. 

Instructions:

For the Pie Cake

  1. Toaster oven at 375 degrees or heat a regular oven to 350 degrees.  Butter or grease either an 8 inch pie pan or two 6 inch pie pans.
  2. Use a food processor or an immersion blender to mix the ingredients together along with one teaspoon of the prepared Pumpkin Pie spice.  Reserve the remainder for later use.
  3. Pour into prepared pan(s) and bake for 45 minutes in the toaster oven or 40-50 minutes in the regular oven or until the pie cake is done all the way. 
  4. Allow to cook and serve with a dollop of whipped cream on top. 
  5. You can also do a little sprinkle of the pumpkin pie spice on top of the whipped cream. 

Note: If you want you can also use Pumpkin or any other firm fleshed squash.  Just don’t tell the kids, big and small that it isn’t pumpkin.  
Created using The Recipes Generator

All recipes and their respective images are either original or adapted and credited, and are all the sole property of Sid’s Sea Palm Cooking and Sid’s Cooking Again © 2011-2020, with all rights reserved thereof.

Check out my cookbooks on Amazon.  All are available as paperbacks or as a downloadable e-book.  I also sell them directly, simply email me at Sids Sea Palm Cooking at Gmail.com for prices including the shipping cost.
 Simple Shrimp Recipes – 25 + Appetizer, Entree and Dipping Sauces.
 Nibbles and Bites – A Compilation of Appetizers, Canapes and Finger Foods
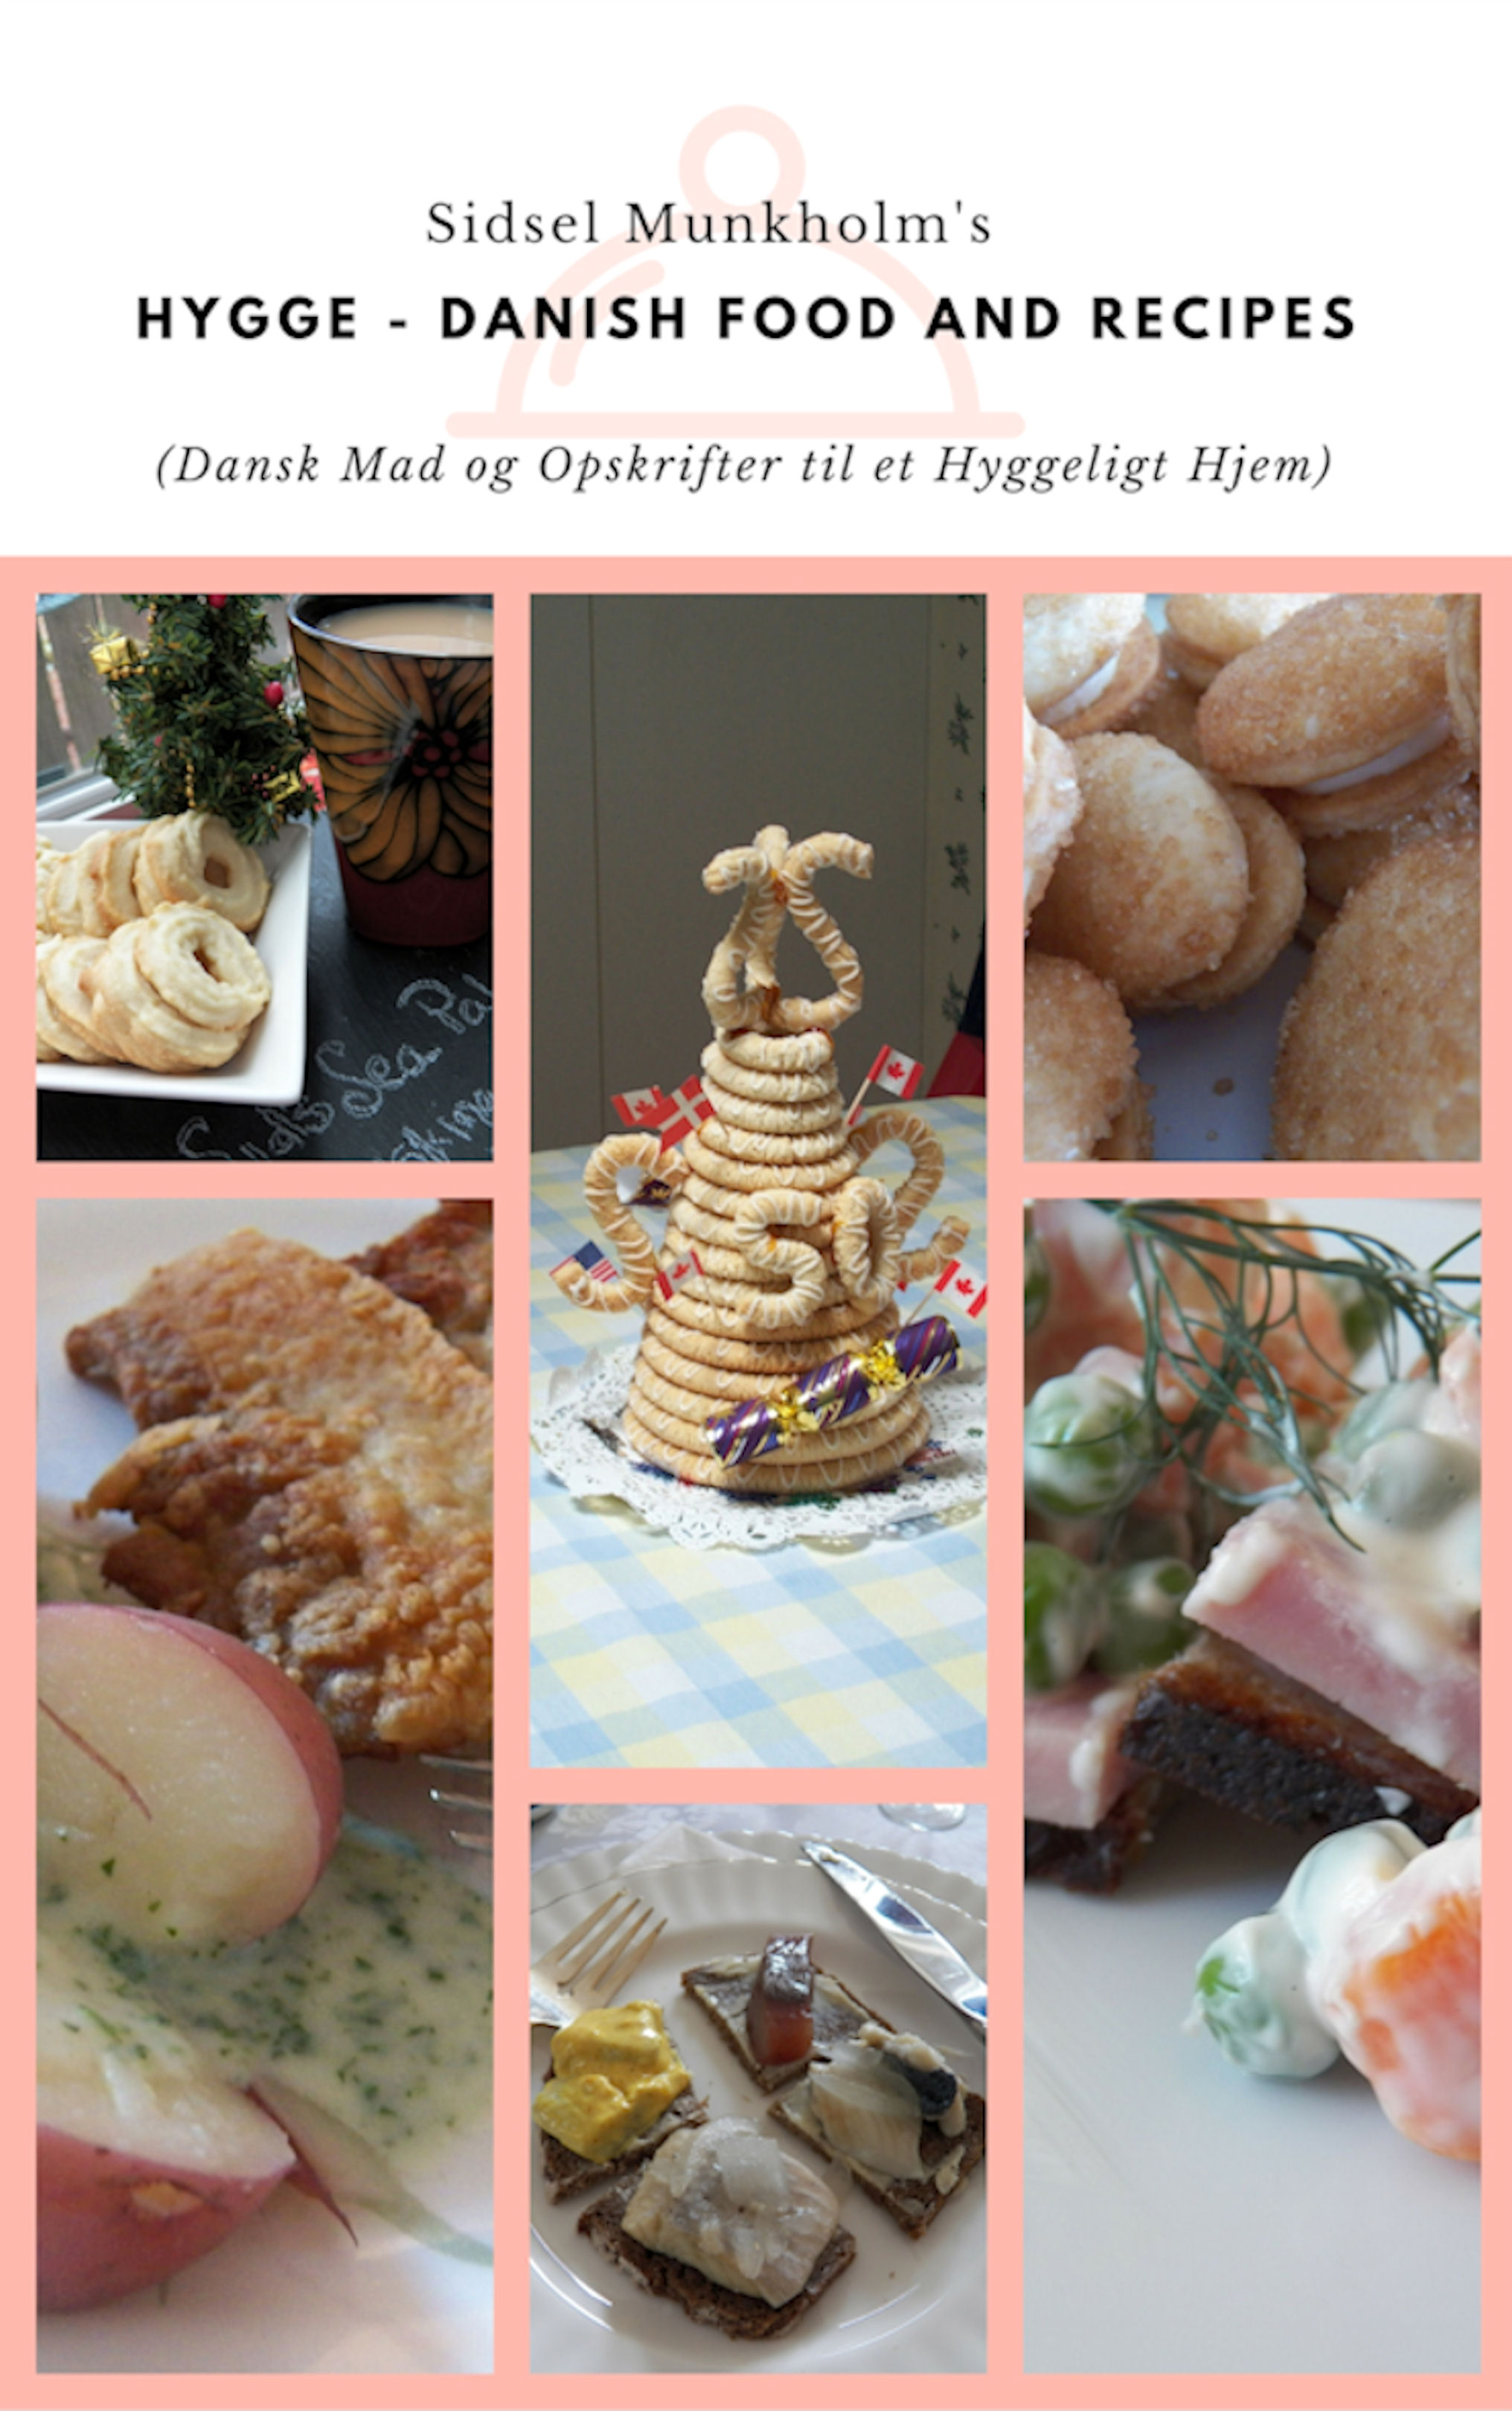
  Hygge – Danish Food and Recipes

Gratin aux Courgette


Courgette is the french name for Zucchini.    It sounds so elegant doesn’t it?  

And since I’m the only one who eats this sort of thing in my house I scaled the recipe down to make two servings.    

I ate one serving with my Patty Melt and the remainder made a great breakfast, when I reheated it. 

I got the inspiration from here Bonjour Paris and changed it up a little.    I didn’t have as much Parmesan Cheese as needed, but I did have some shredded Italian Cheese in the fridge I’d bought to make Lasagna, and subbed in some of that.    But for the rest, I left it alone.  

I have to say that this tasted decadent, and will definitely be made again and again. 

 It is pretty keto friendly as well.    

As well as being vegetarian.  

Gratin aux Courgette

Yield: 4-6Author: Sid’s Cooking Again

-Prep time: 5 Minutes

Cook time: 35 Minutes

Total time: 40 Minutes

This light and yet filling dish is perfect for a light lunch or to serve as a side dish.

Ingredients:

  •  6 medium zucchini (washed, unpeeled and sliced)
  • 2 tbsp. chopped fresh tarragon (or 2 tsp. dried)
  • 1  cup grated Parmesan cheese
  • 1/2 cup shredded Italian Cheese mix
  • 1/2 cup milk
  • 1/2 cup whipping cream
  • 2 eggs, slightly beaten
  • salt and pepper, to taste

Instructions:

  1. Preheat the oven to 350° degrees. Butter or spray with non-stick spray, a 9-inch diameter deep dish glass pie plate or a square 8 inch casserole dish. Layer half the zucchini in the buttered dish. Sprinkle half of the tarragon and 1/2 cup of the cheese. Repeat layering with zucchini, tarragon and 1/2 cup cheese. Combine the milk, whipping cream and eggs in a bowl. Season with salt and pepper. Pour the custard over the zucchini. Sprinkle the remaining 1/2 cup shredded Italian cheese over the top. Bake until the gratin is set in the center, about 35 minutes. 
  2. The original recipe called for sauteeing the zucchini in a little butter until it was browned. I omitted that step as I did not want mushy zucchini.  Mine was lovely and tender and still just a little crunchy
  3. Note: I added the cheese to the milk/egg mixture, and then poured it over the top since I made a half recipe. 

Created using The Recipes Generator

Philly Cheese Steak Omelette


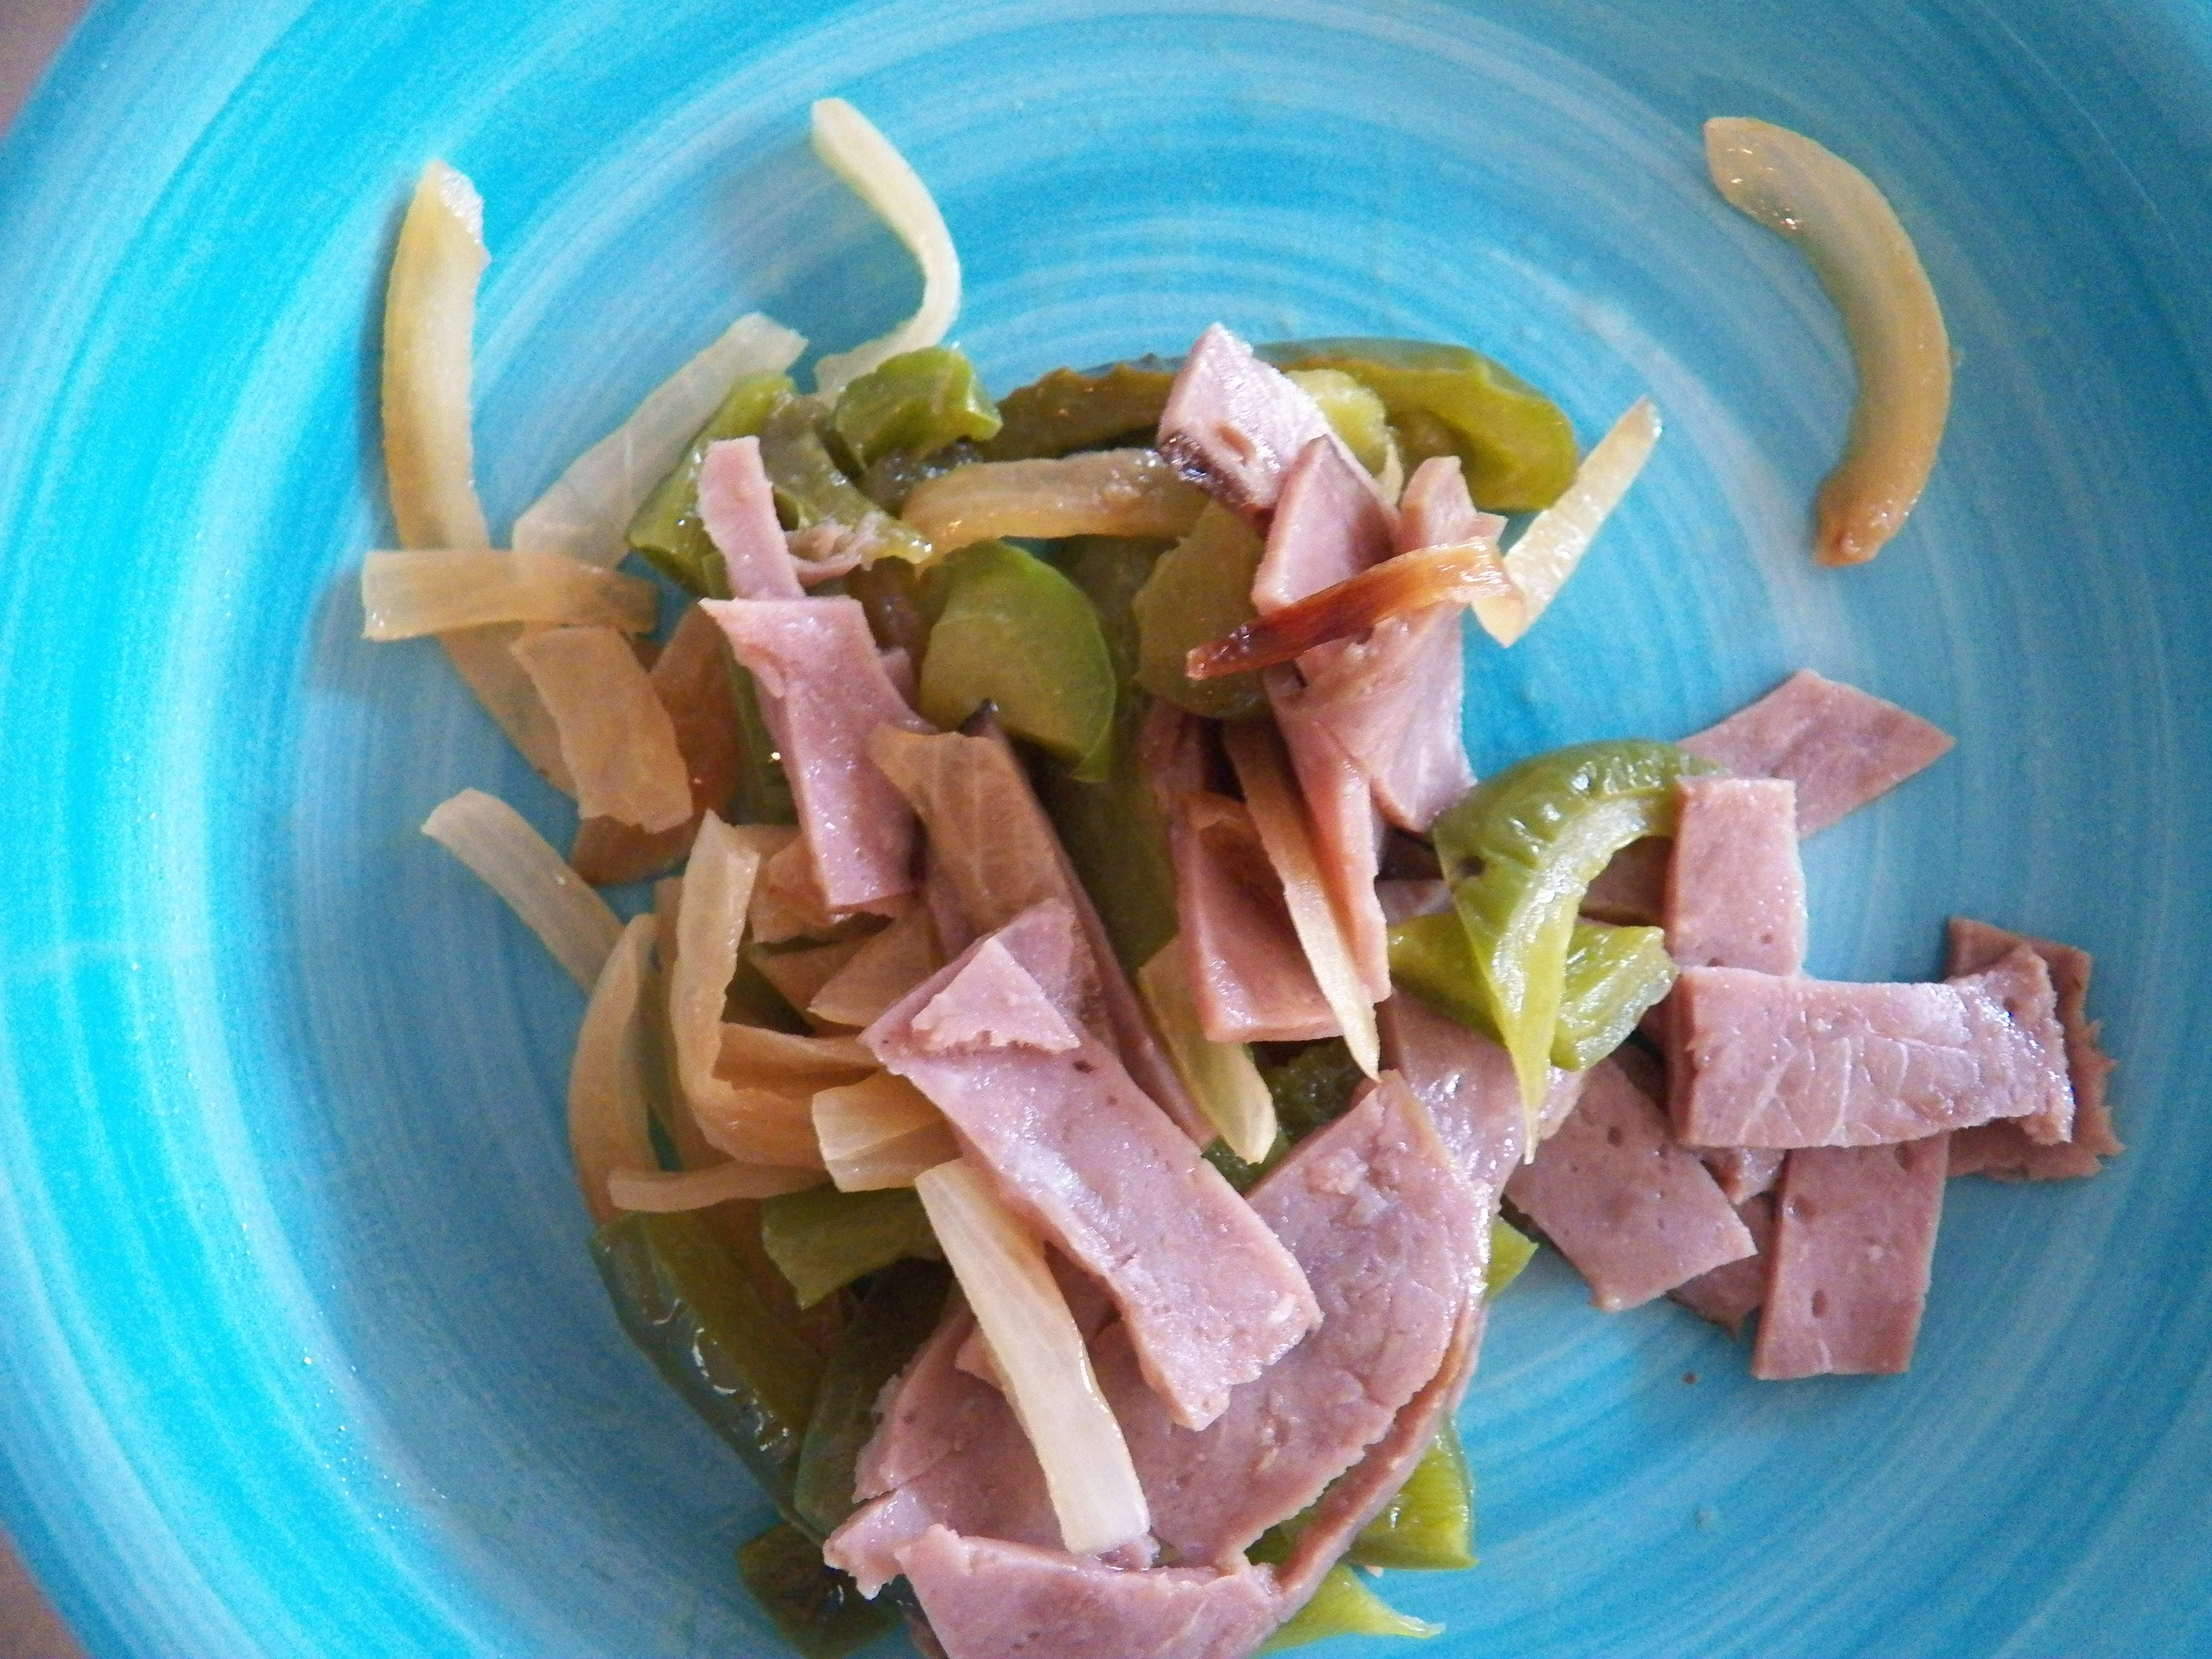
We recently had some Philly Cheese Steak Sandwiches for dinner, and I had leftover filling.  Philly Cheese Steak Filling

Which does not happen often, but when it does, I like to play with it, a little.

I’m going to be upfront with you here, I cheat.  I buy sliced cooked roast beef, and add it to the sauteed peppers and onions, and drizzle it with Velveeta cheese sauce.


I know, I’m a philistine.

But it tastes so good and it’s quick and easy as well.

Back to the Omelette.

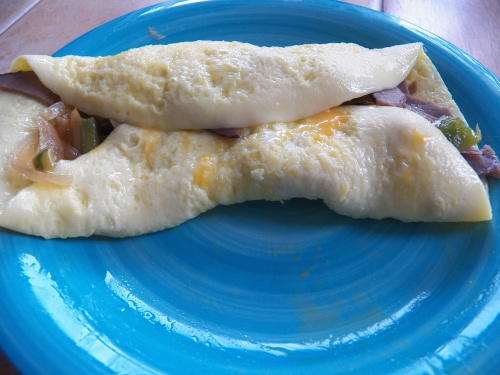
I decided to add the leftover fillings to an omelette.

I usually just whisk an egg with a teaspoon of either cream if I have some or milk, and cook it in a pan, over low heat until the egg is set and cooked through before I flip the omelette.

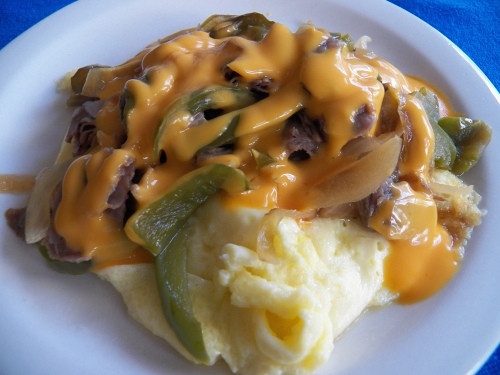
Warm your leftover filling and add it to the top of the omelette, drizzle some cheese sauce over, fold and eat.

Philly Cheese Steak Omelette


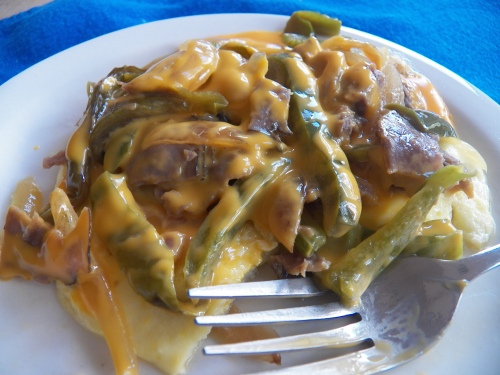
Philly Cheese Steak OmeletteThe first day, I held back on the cheese sauce, and there wasn’t enough for my taste, the second day, I went all out, and it was soooo good.Philly Cheese Steak Omelette

Philly Cheese Steak OmeletteYou can also use Cheese Whiz here if you like.

I love being able to use leftovers for breakfast or lunch.

Spicy Witch Fingers


This time of the year there are so many sweet Halloween treats available, I thought I’d go ahead and share some of my favorite savory treats in a series of posts.

It’s almost Halloween and quite frankly my teeth are starting to hurt from all the sweets out there.

How about these for a fun treat? Fingers WP

They’re actually a cheese cracker, which can be either formed into ‘fingers’ with almond fingernails, but can also be formed, cut and baked into little crackers suitable for serving with a cocktail.

They just happen to taste great when made with gluten free flour. 

I’ll share how to make the ‘Ogre’s Blood’ Dip later this week. 


Print

Spicy Witch Fingers Cheese Crackers

Yield: 36 + crackers
Author: Sid’s Sea Palm Cooking adapted from my mother’s recipe
prep time: 10 Mcook time: 25 Mtotal time: 35 M
You’ll never believe these are gluten free crackers. They go great with a tapenade for cocktails, or crumbled up over chili or soup. Perfect for snacking and totally great for Halloween.

ingredients:

  • 8 oz. Extra Sharp Cheddar Cheese, grated – you can substitute Shredded Gouda here as well.
  • 2 oz. finely shredded Parmesan Cheese
  • 6 Tablespoons Butter, softened
  • 1/2 tsp. Cayenne Pepper
  • 1 cup all purpose gluten free flour- Besan (Chickpea based) preferably.
  •  1 large egg yolk, mixed with 1 tablespoon of water
  • 36 (about 1/3 cup) sliced Almonds

instructions:

How to cook Spicy Witch Fingers Cheese Crackers

  1. Mix together the grated cheese, butter and cayenne in a food processor, if you have one, or just in the KitchenAid and mix til smooth. Add the flour and either pulse (if using a food processor) or cut in until it’s all mixed together. Turn the dough out onto a floured surface and knead until smooth.
  2. Divide the dough into 36 pieces and roll each one into a 4 inch long ‘finger’. Divide the dough into thirds, and then into thirds again.
  3. Form the pieces into ‘finger shapes’, with the indentations in between where the joints are. Place the fingers onto 2 parchment covered baking sheets and brush with egg wash.
  4. Press an almond slice onto the end of each finger for a fingernail.
  5. Hint: If you do like me and get to this point and find out you don’t have any almond slices, (cause you used them in another recipe and forgot to buy more) just put a small handful of whole almonds into a cup with some water and microwave them or pour boiling water over them, and let them sit for a few minutes. Slip the skins off and then being very, very, very careful, slice the almonds with a sharp knife.
  6. Place the fingers in the fridge for at least 15 minutes for them to firm up.
  7. Preheat the oven to 350 degrees. Bake the fingers on the upper and lower thirds of the oven for about 13 minutes then swap the pans, and bake an additional 12 minute, until they’re all puffed up and golden.
  8. Cool the ‘fingers’ completely, then arrange on a plate and serve.
Created using The Recipes Generator

How old is your oldest cookbook?


I love old cookbooks, the older the better, so far as I’m concerned. And I collect cookbooks.

But I have a rule, well, sorta, cause there’s always exceptions. I usually won’t buy anything that was published after 1965. Mostly. Which means that my recent purchase of the Women’s Day Encyclopedia of Cookery, was actually cause for excitement.

Many years ago, my sister and I were given the entire set for Christmas, and then we grew up and left home and had to split the set. Well, I got some and she got some. But then when I found the entire set for sale, well, almost the entire set for sale, it was missing a couple of volumes, I had to buy it. Especially since I already had the ‘missing’ volumes in my set.

This set of cookbooks, has actually been my go to for recipes for years, and years, and I still peruse it for ideas. And now I have the entire set.

I’ll tell you about some more of my collection another time. Many of the recipes from various countries are actually pretty authentic. In fact I just looked up Chile Rellenos con Queso in Volume 7 Kid-Moe, and the instructions are very close to how I make my Chile Relleno’s.

Well, I’m not going to boast about something without at least letting you know how to make it, or at least how I make it.

My recipe comes from a friend who was Mexican.

I’ve been busy, writing cookbooks


I feel bad, I’ve shamefully neglected this blog.  But I have an excuse, I’ve been writing cookbooks.

All the cookbooks are available in either paperback, as an ebook or if you have Kindle Unlimited, you can even read them before purchasing.

My first one came out in August of 2017, and is an homage to my Danish ancestry and the recipes I grew up making alongside my mother.

I called it Hygge – Danish Food and Recipes – Dansk Mad og Opskrifter til et Hyggeligt Hjem

The second cookbook is all about Appetizers, which is one of my favorite things to make and eat.  In fact, I’ll often just order off the appetizer menu for my dinner.

I called that one  Nibbles and Bites – A compilation of Appetizers, Canapes and Finger Foods.

The latest cookbook is about Shrimp.  Some of the many quick and easy shrimp recipes I make on a regular basis.   It’s called Simple Shrimp Recipes

So there you have it, lots of work, time and effort along with lots of delicious eating as well.


I’ll be back more often, posting about lots of other stuff going on with my food.

Missing? Not really


I’ve neglected this blog, shamefully, actually more than shamefully.  I cast it aside, let it go, didn’t have time I thought to keep up more than one blog.

But it’s now 2018, yikes, already?  And time for me to come on back and share from the other blog I have been keeping up on.   I actually bit the bullet, well, kinda, my teeth aren’t that strong and got my own dedicated blog under my other persona.

Sid’s Sea Palm Cooking

I’ve been working on cookbooks and actually published one last year, have two more in the works with plans for an additional two or more after these.
The cookbook I did release last year was one that celebrated many of the recipes and love that I have for my native land and culture.
I called it Hygge- Danish Food and Recipes.  It’s available on Amazon as both a full color book as well as a Kindle ebook.  You can even borrow it from Amazon and read it.  Although I do hope you’ll purchase it outright.  Hygge 2 f

I will be back, soon…

Mini-Smorgastarta


I wanted to make something fun for Boat Club this month, since it’s the last one before fall.

I decided to make some personal Smorgastarta, which are just basically a sandwich cake, but a fun one.

I had a couple of Hoagie Rolls in the freezer and I sliced them into thin slices, then layered egg salad and smoked salmon spread in-between the layers.   I also made up a few with egg salad and ham salad layers.


Let me show the fun I had…

I usually have fun in the kitchen when I’m creating, just not so much fun when it comes time to clean up, but I’m getting better at cleaning as I go.

To start with, cut the crust off of the bread.  And umm, it helps a lot if the bread is still frozen at this point, it was really hard to get the crust off the one thawed loaf.

Then slice it into thin slices.  And again, the frozen loaf worked out a lot better this time round.  I used my new Miracle Blade slicer for this.  I just bought the set, and the slicer and the paring knife are worth it in my book, both are super sharp.   Just had to say that.

I used the ham salad spread recipe I made in January, with one exception, I used some thin sliced luncheon ham for the spread.  And it worked out quite well.   I didn’t have any scallions, but I did find one lonesome looking leek in the veggie drawer, so it was pressed into service.   Leeks do tend to last a lot longer than scallions or green onions and make an admirable substitute when you want a little oniony flavour but you don’t want it to hijack your dish.

I think I’m officially in love.

With my food processor.

I placed a few slices of ham in here and let the food processor have its way with the meat.

Added a little cream cheese, mustards, and mayo along with some of the chopped leek.

Mooshed up the hard cooked eggs, and added some mayo and mustard to them.

The leeks just as I was chopping them up.

 Deviled Ham Salad all ready to go.

From the left, Egg Salad, Smoked Salmon mixed in with some cream cheese and mayo, and the Deviled Ham Spread.   In the front Leek cut up and ready to decorate.

Spread some egg salad on one slice, top it with another slice of bread which has been spread with either the ham salad or the smoked salmon spread.


Assembly line…

Continue until all the slices are done or you’ve run out of one of the spreads.

Place into a covered container and put into the fridge for a couple of hours.


This gives the sandwiches a chance to rest and recuperate and also means you get to clean up the kitchen.

After they’ve rested, you need to ‘frost’ and decorate them.
I used equal amounts of a good  mayonnaise, in my case Duke’s Mayonnaise, Creme Fraiche and Sour Cream.  Mix it together and then spread the ‘frosting’ along the sides and top of the sandwich.  Don’t worry about it looking pristine or even really pretty.   You will be decorating them a little.
I used a spoon to spread the ‘frosting’ along the sides and then spread a little on top, placed them on the serving platter and then I had fun.   And forgot to take pictures of the just ‘frosted’ sandwiches.   whoops.

I then had fun decorating.
You can do whatever your heart desires or in my case what I could find in the fridge.
I really need to go shopping, soon.
I used some of the leek I’d minced up, some of the  hard cooked eggs, some parsley out of the garden along with some ham slices and the last of my jar of fire-roasted peppers.

And there you have it.

Mini Smorgastarta, and this won’t be the last time I make them.  It’s just too much fun bringing them to the party.

Home made Seeded Crackers


I found these crackers at  Sawsan’s blog, Chef in Disguise 
I love seeded crackers, they’re good on their own, or with a bite of cheese on top or …

OK, so they’re tasty all by themselves.

You were peeking in my kitchen, weren’t you?  You saw me just eating them, plain, without anything on them.

I did taste test a bunch of few crackers.

I baked some of the crackers according to the recipe, and then I had fun with the last half.

I also changed up a couple of the ingredients, but that’s cause the big old bottle of poppy seeds, that I knew I had, in the pantry, are MIA.

So…
Here’s my take on the crackers.

Recipe:
2 cups bread flour
1/4 cup Flax Seeds
1/4 cup Chia Seeds
1/4 cup Sesame Seeds
1 1/2 tsp. salt
1 1/2 tsp. Baking Powder
3 tablespoons Olive Oil
3/4 cup water (enough to moisten the dough, maybe a little more or maybe a little less).

Mix together, and let rest for about 15 minutes.
Preheat oven to 450 degrees
Divide the dough into either thirds or quarters, and roll out each piece until you get it thin enough.  I made it about 1/4 inch thick, or maybe a little less.

Cut into squares and place on a baking sheet, bake for about 12 minutes, or until the crackers start to brown around the edges.
Take out of oven, taste test one, burning the tongue in the process, decide you need a touch more seasoning.

So for the next batch I grabbed my onion powder and sprinkled just a little on top of the rolled out dough and then cut out some rounds.

I reserve the right to change things up in midstream here.   Baked them off, and then for the last bit of dough, I rolled them out, sprinkled some pizza seasoning on top, and cut them into diamonds and baked them off.


I really like this recipe, it’s versatile, tastes great and best of all, I know exactly what is in it.

I think next time I might add some sunflower seeds as well, or maybe just toast the sesame seeds a little to get more of a nutty flavour.

I made some more last night for NPA and served them alongside a nice double cream Brie.    They were a hit.  Again.

I swear I’ll never buy the seeded crackers again, these are so outrageously good, and best of all  I know exactly what is in them.

I do live in the Redneck Riviera and umm, I reserve the right to make my own ‘Crackers’.